HOW TO: 5TH GEN: Change Cabin Air Filters
HOW TO: 5TH GEN: Change Cabin Air Filters
If you haven’t changed your cabin filter by now, you should do it immediately. The noticeable difference in inner air quality will surprise you, not to mention the amount of junk you’d be collecting at the filters…
DISCLAIMER: Canadian Prelude Club and I (Infamouz) are not responsible/accountable for any errors, damage, unwanted results that you may come across or experience! DO THIS AT YOUR OWN RISK!
Photos provided by: SilverBullet_01
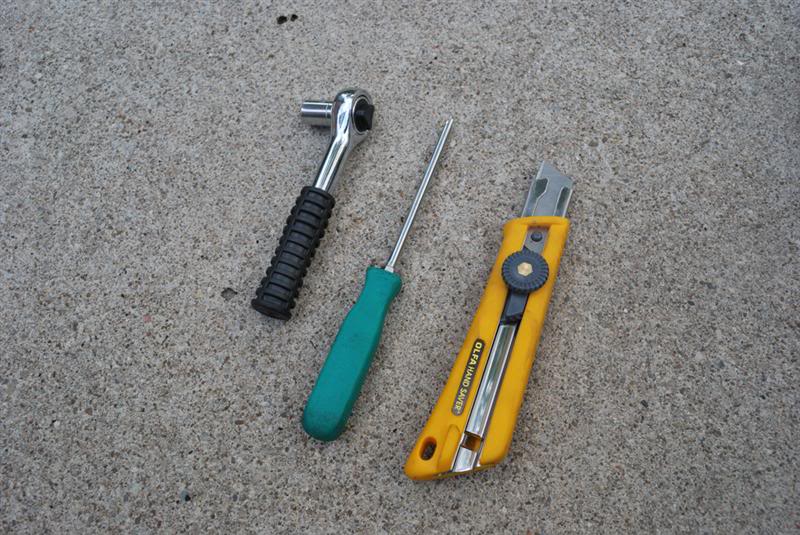
Tool Needed:
- 10mm socket or wrench
- Ratchet
- Philips screwdriver
- Flathead screwdriver
- Exacto/Razor knife
1. Located your glovebox and open it
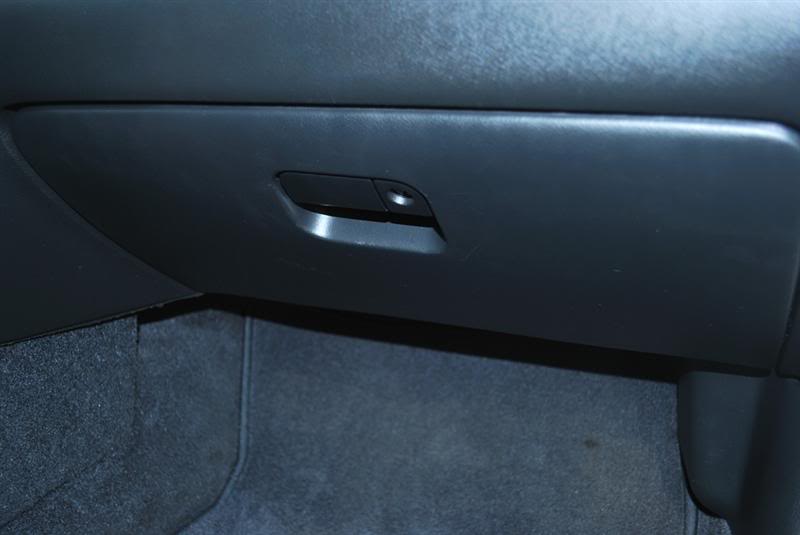
2. On each side, you’ll see the plastic stoppers (which stops your glovebox from opening all the way out). Using a flathead screwdriver, remove them. They just pop out.
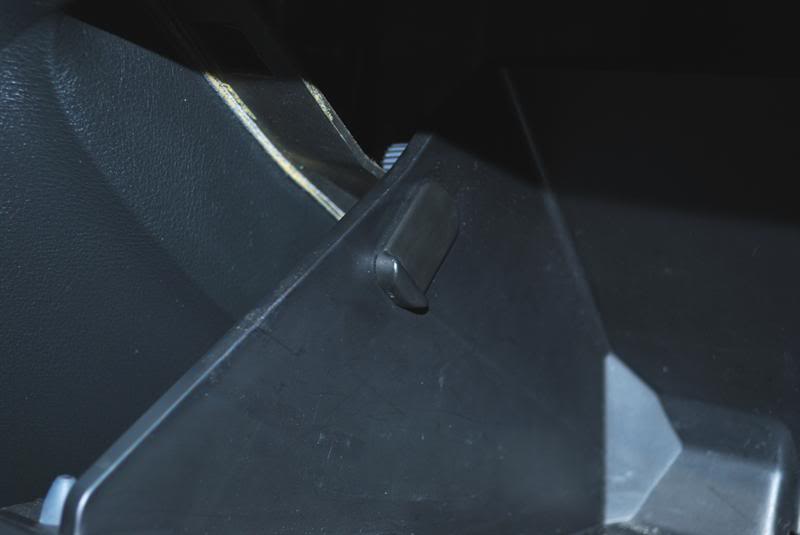
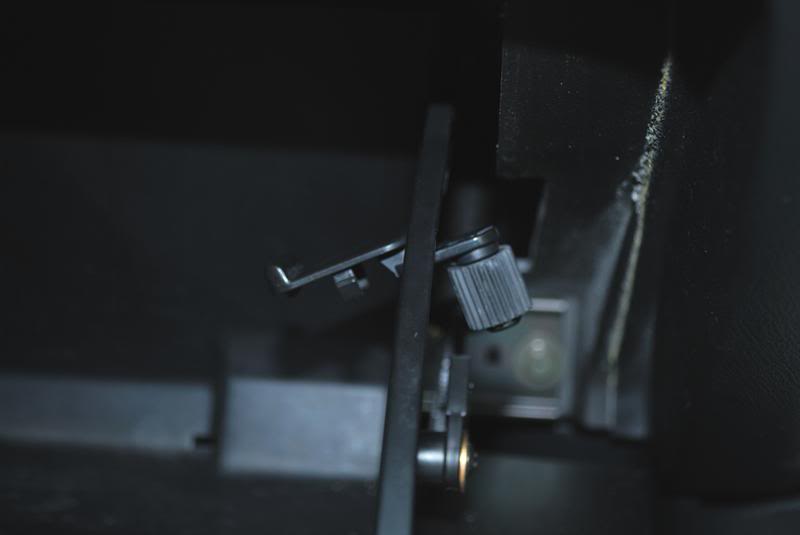
3. Once the glovebox is fully open, more screws and bolts will now be visible. Remove the 2x Philips screw that is holding the glovebox in place.
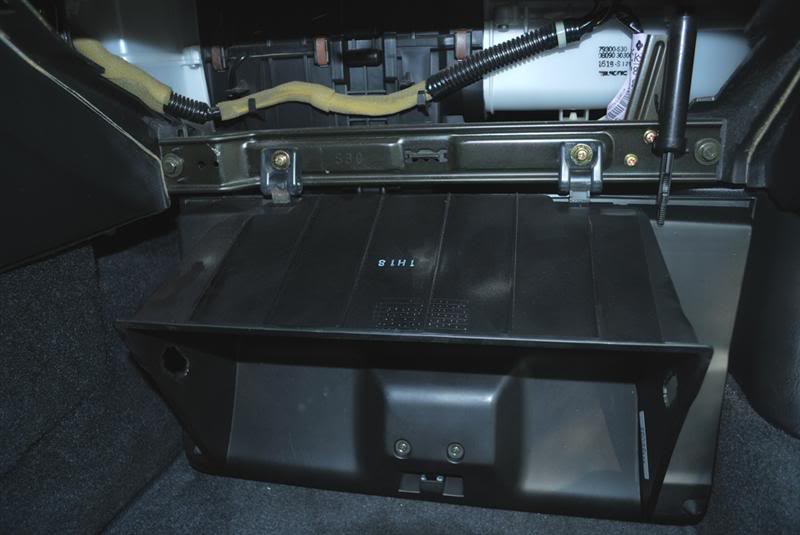
4. Remove the 2x other Philips screw holding the hinge in place along with the 2x 10mm on each end. Once this is complete you should be able to remove the metal piece
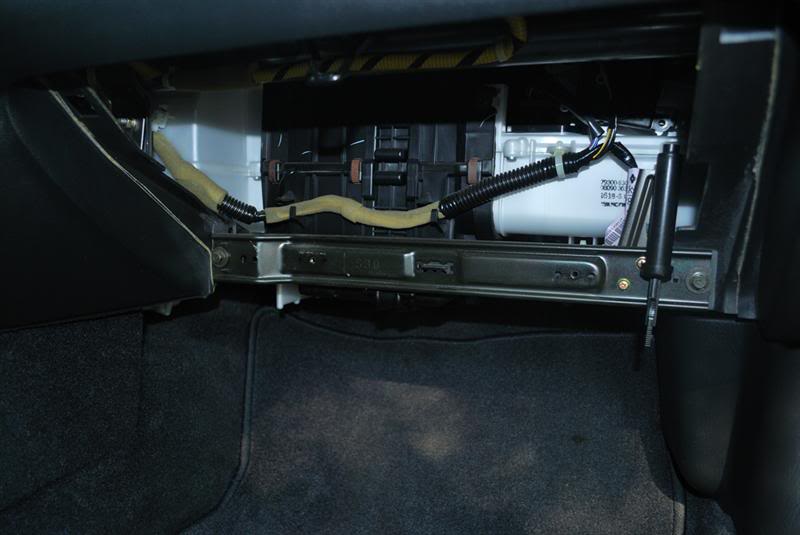
5. Cut the plastic trim on each end. Refer to pictures below
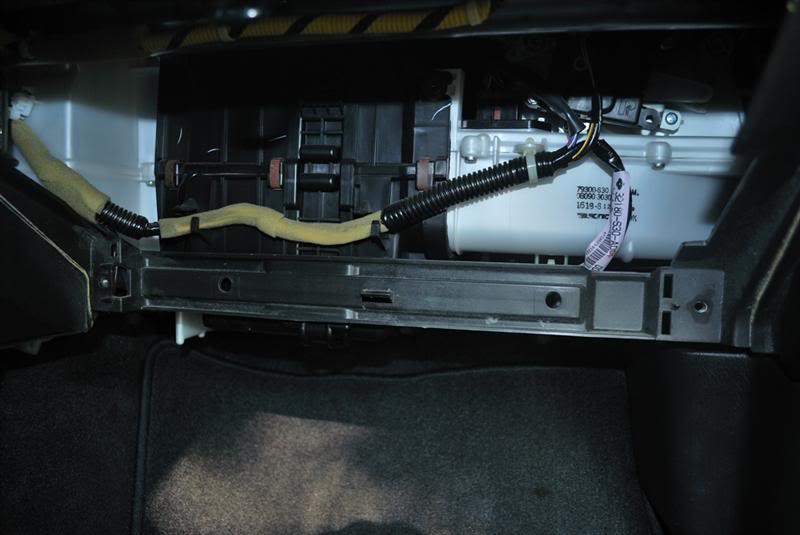
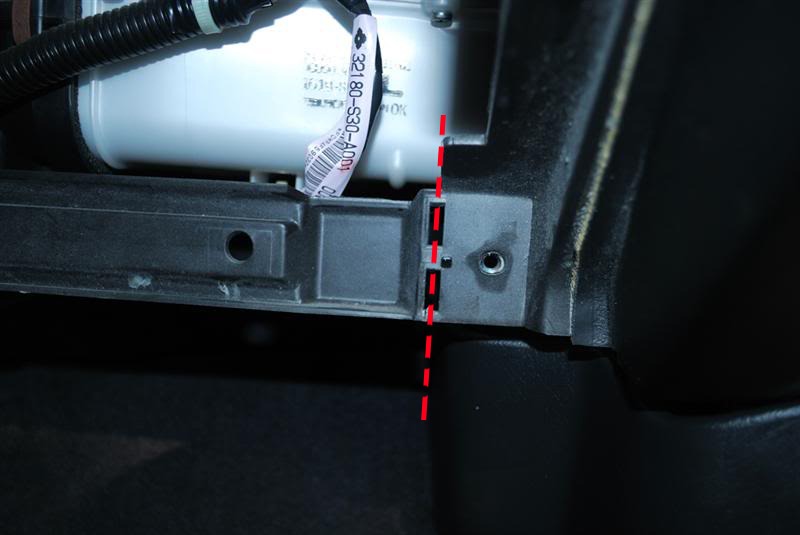
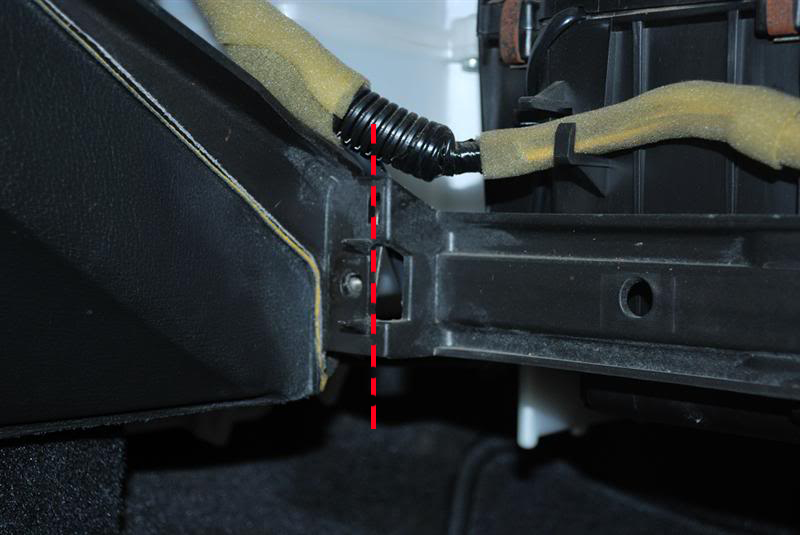
6. Push up the climate control harness and pry open the lid covering the filters.
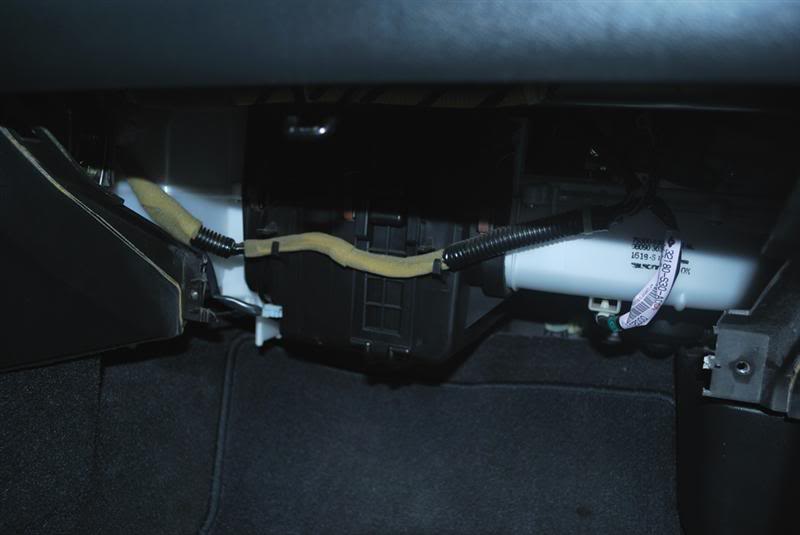
7. Before removing the air filters, it is important to note the direction of airflow and how each of the filters are place
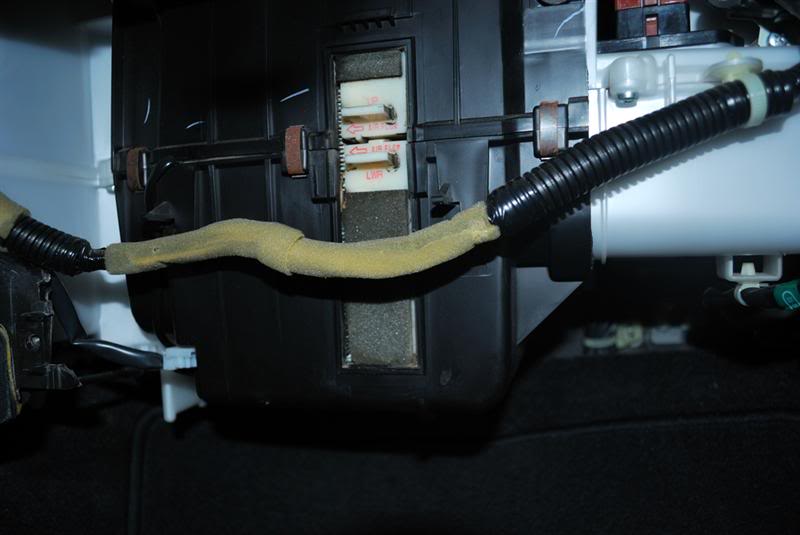
8. Remove the bottom filter. Push down the top filter and remove it as well
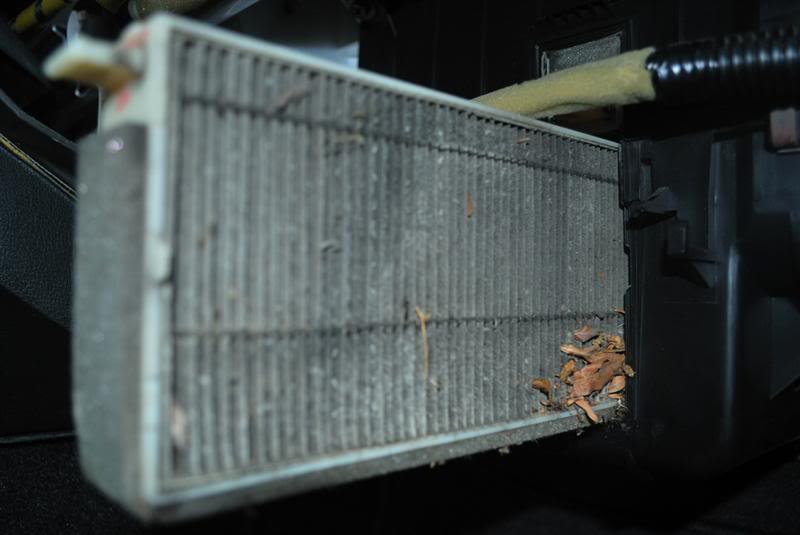
9. If you have not changed your cabin filter for a long time, expect to see a bunch of gunk including hair, dust, leaves, etc. Clean it out as best as you can. Use a vacuum with a thin nozzle to get into tight places.
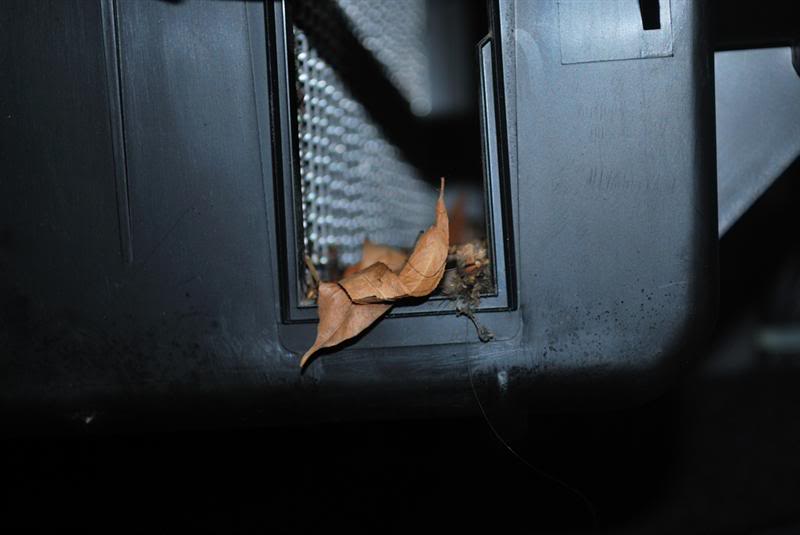
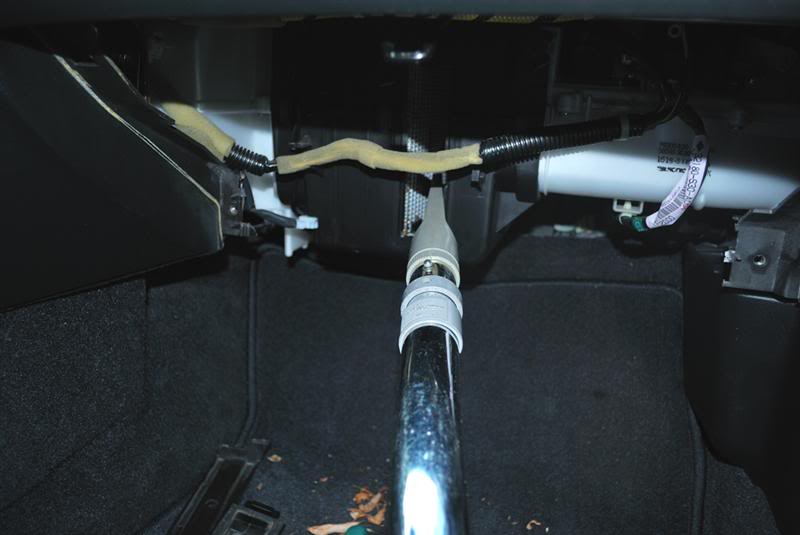
10. See the difference?
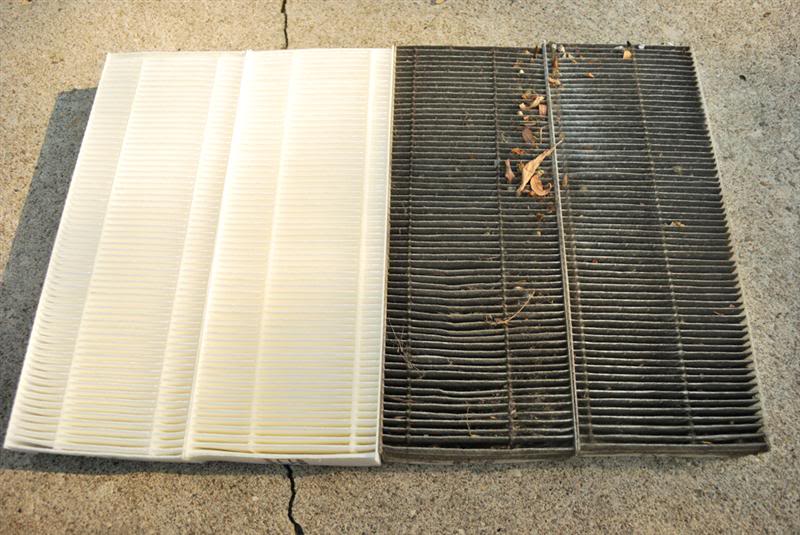
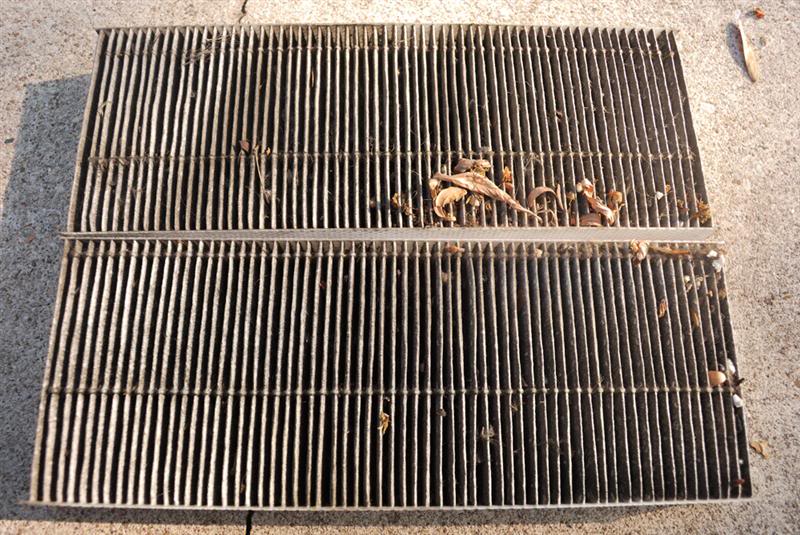
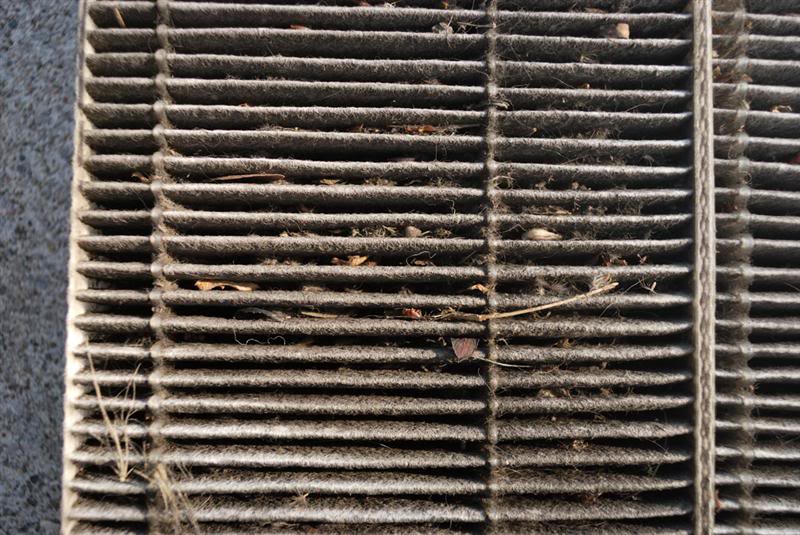
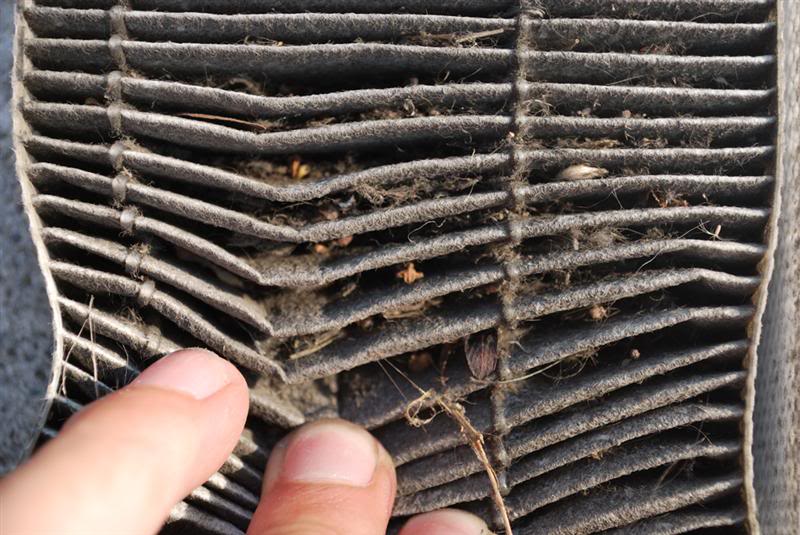
11. Reinstall cabin filters. Once again make sure airflow is in the right direction.
12. Reinstall everything else in reverse order.
Now breathe some clean air!
DISCLAIMER: Canadian Prelude Club and I (Infamouz) are not responsible/accountable for any errors, damage, unwanted results that you may come across or experience! DO THIS AT YOUR OWN RISK!
Photos provided by: SilverBullet_01
Tool Needed:
- 10mm socket or wrench
- Ratchet
- Philips screwdriver
- Flathead screwdriver
- Exacto/Razor knife

1. Located your glovebox and open it

2. On each side, you’ll see the plastic stoppers (which stops your glovebox from opening all the way out). Using a flathead screwdriver, remove them. They just pop out.


3. Once the glovebox is fully open, more screws and bolts will now be visible. Remove the 2x Philips screw that is holding the glovebox in place.

4. Remove the 2x other Philips screw holding the hinge in place along with the 2x 10mm on each end. Once this is complete you should be able to remove the metal piece

5. Cut the plastic trim on each end. Refer to pictures below


6. Push up the climate control harness and pry open the lid covering the filters.

7. Before removing the air filters, it is important to note the direction of airflow and how each of the filters are place

8. Remove the bottom filter. Push down the top filter and remove it as well

9. If you have not changed your cabin filter for a long time, expect to see a bunch of gunk including hair, dust, leaves, etc. Clean it out as best as you can. Use a vacuum with a thin nozzle to get into tight places.


10. See the difference?


11. Reinstall cabin filters. Once again make sure airflow is in the right direction.
12. Reinstall everything else in reverse order.
Now breathe some clean air!

.
In a world full of copies, be an original.
.
Graphic Design: Indezyne | Rare Prelude Parts: InfamouzJDM