HOW TO: Install SH Rear Deck
Posted: Tue Jan 09, 2024 10:43 pm
DISCLAIMER: Canadian Prelude Club and I (infamouz) are not responsible/accountable for any errors, damage, unwanted results that you may come across or experience! DO THIS AT YOUR OWN RISK!
1. Fold down your rear seat. In your trunk, you’ll see a black plastic “anchor”....tug on that plastic....then go inside and pull down ur rear seats....they should fold down. [You can also use the key technique....you should be able to see a key hole on the rear deck....(this technique didn't work for me...so ended up pulling the plastic from the trunk)]

2. Remove the long plastic trim that goes over/covers the seat latch (what your seat snaps onto when you ‘unfold’ it). It has 4 snap on white clips....just pull on it and it should come right out. Sorry i didn't take a pic with the plastic trim on....but you get which one i'm taking about
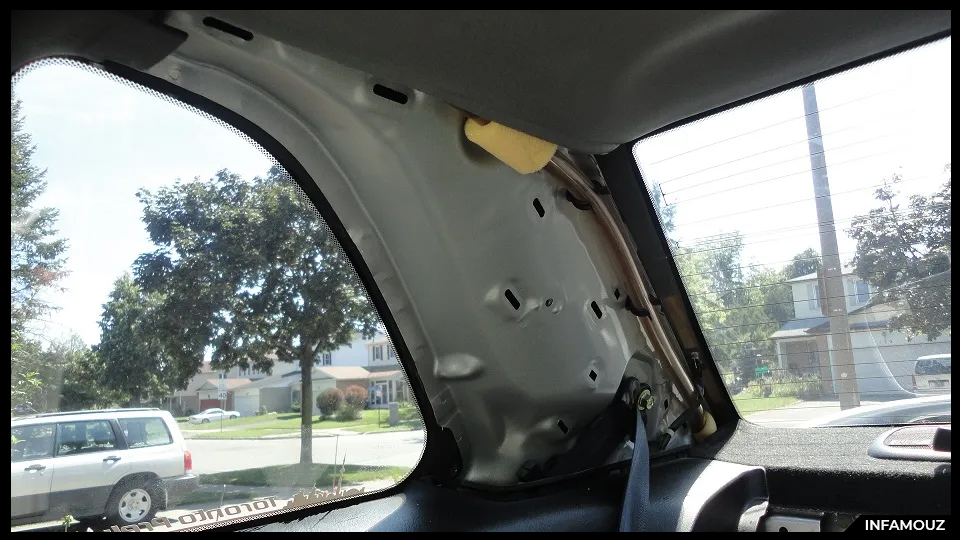
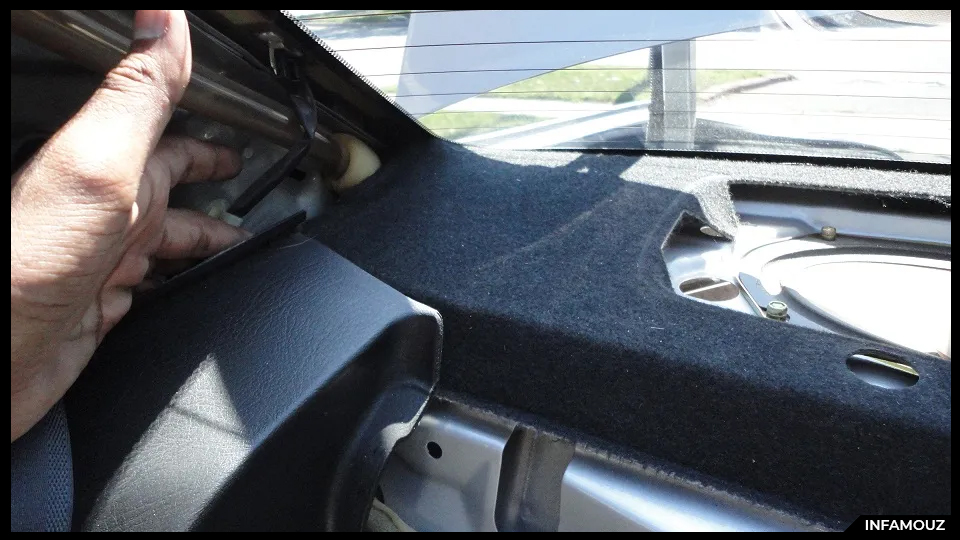
3. Now be careful during this step as you don’t want to leave any stress/white marks on this trim piece. It’s the one that goes over the C-pillar. There are 7 metal clips that hold it in place. Grab the end that’s above the quarter panel window and tug on it a bit....then use both hands...holding the piece in the middle and work your way to the other end (near the rear deck). Be patient....it requires quite a bit of strength....

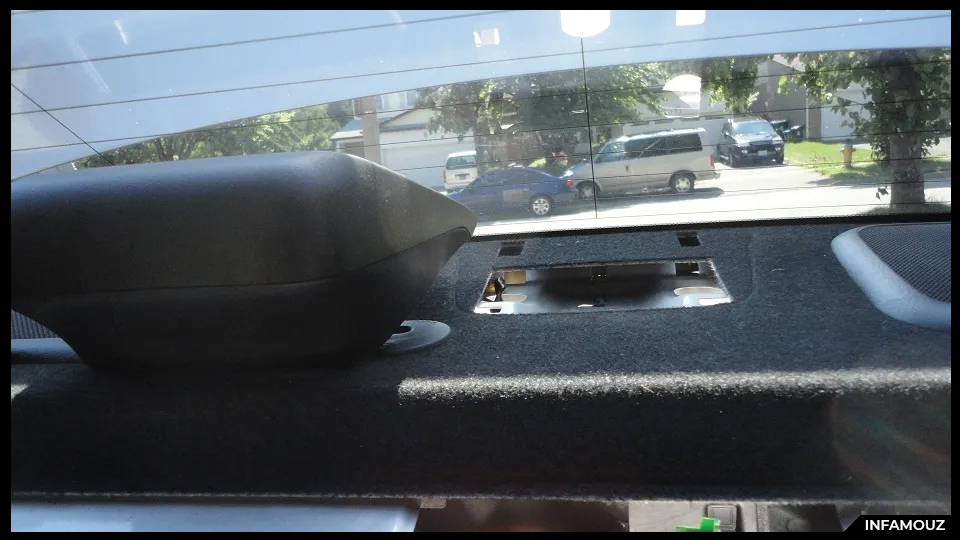
4. Remove the 3rd brake light. Push it towards the window and pull up. Sorta like pushing someone on a swing......
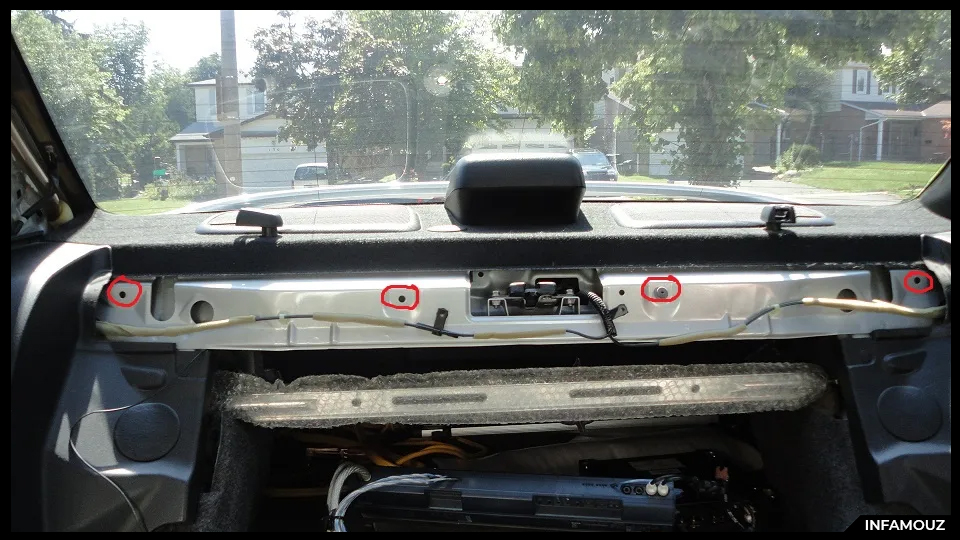
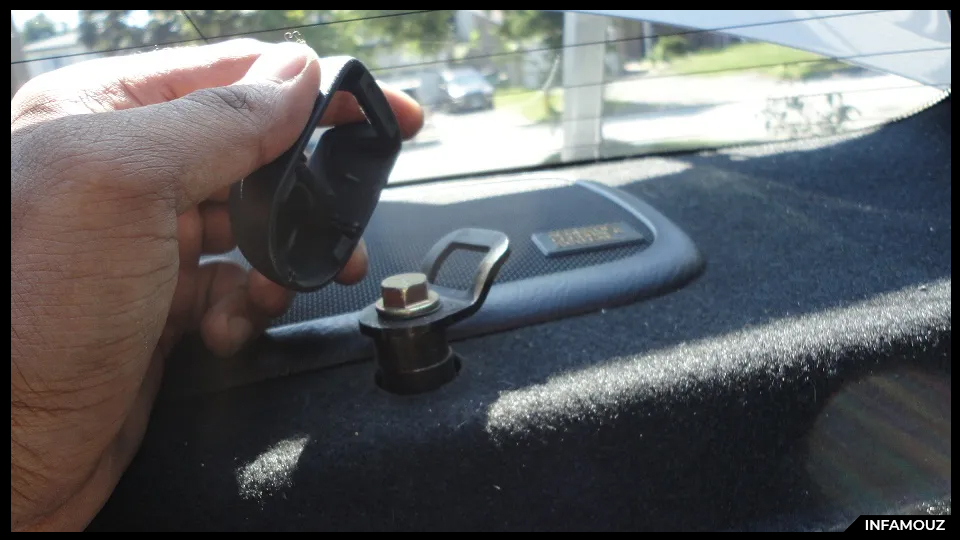
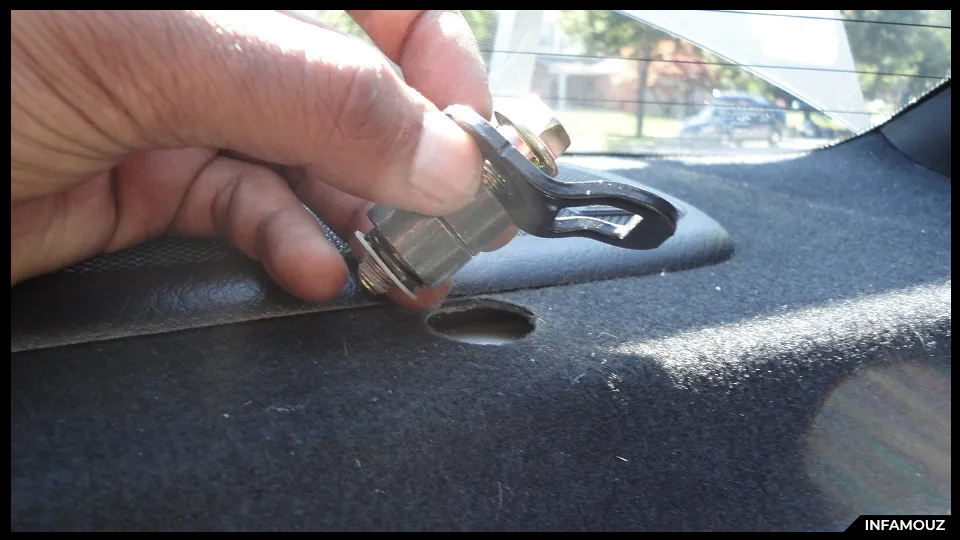
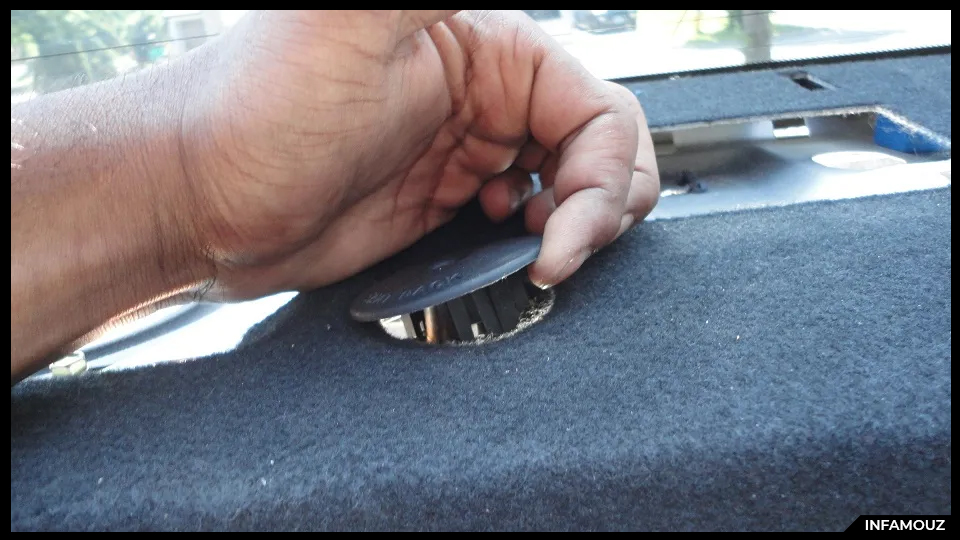
5. If you have these infant/toddler seat hooks....separate the cover off by just pulling on it and you’ll be exposed to a 12mm bolt. Remove the bolt and the whole assembly will come out....

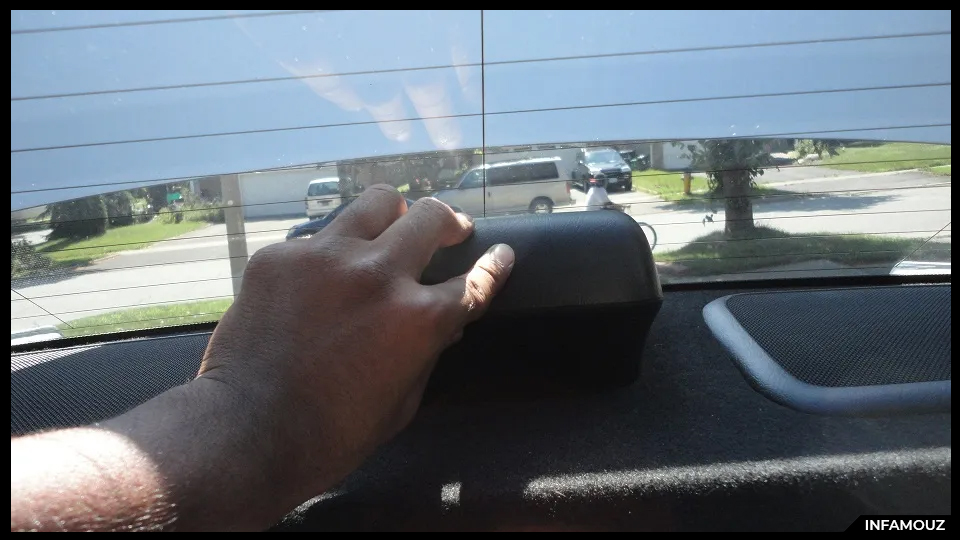
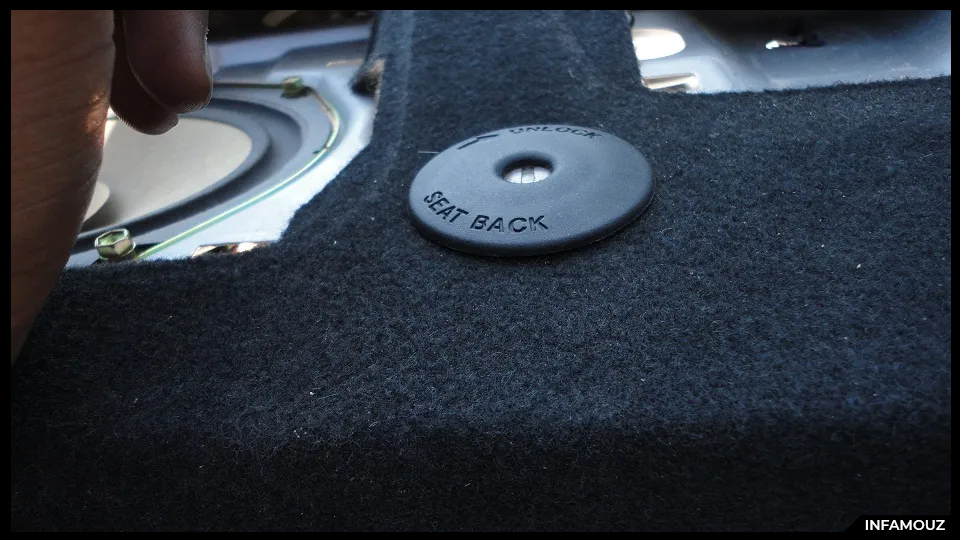
6. Just pull on the lock cylinder trim and it’ll just pop right out
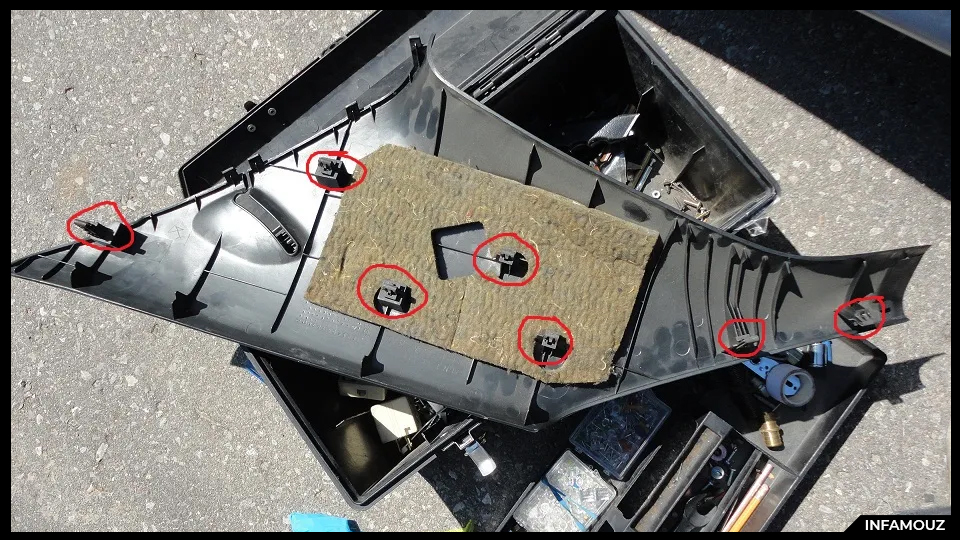
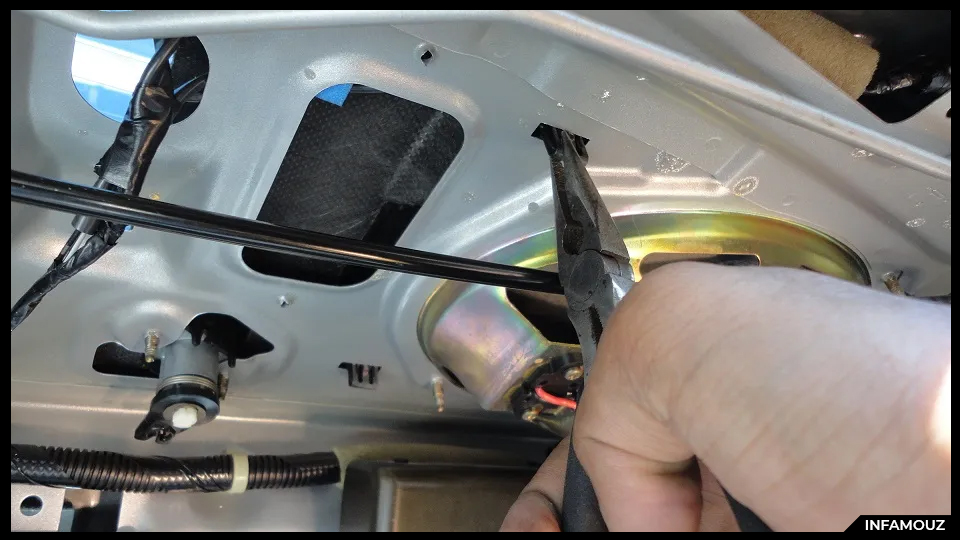
7. Remove the speaker covers. The best way to do this is through your trunk....get a nose plier and give each of the 4 metal clips a push up....(4 clips PER speaker cover....so 8 clips in total)
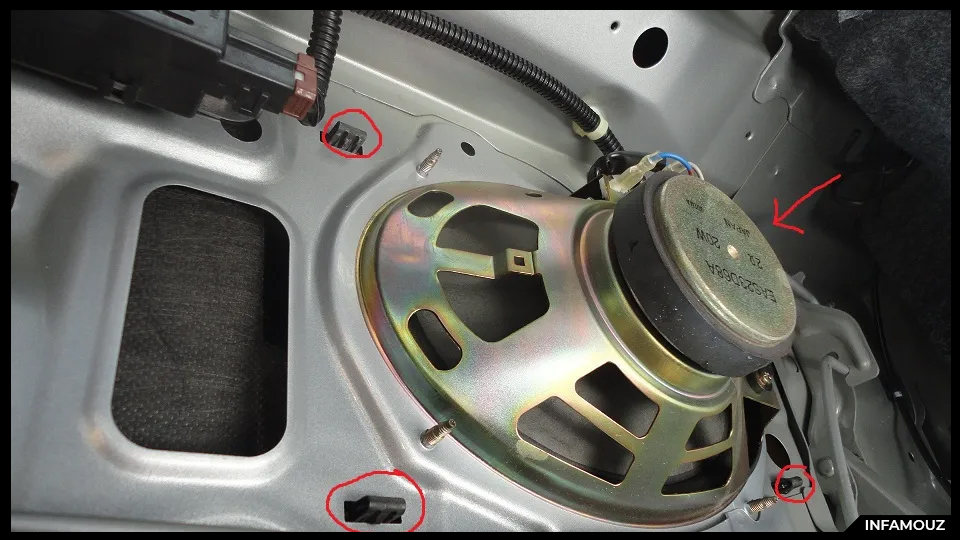
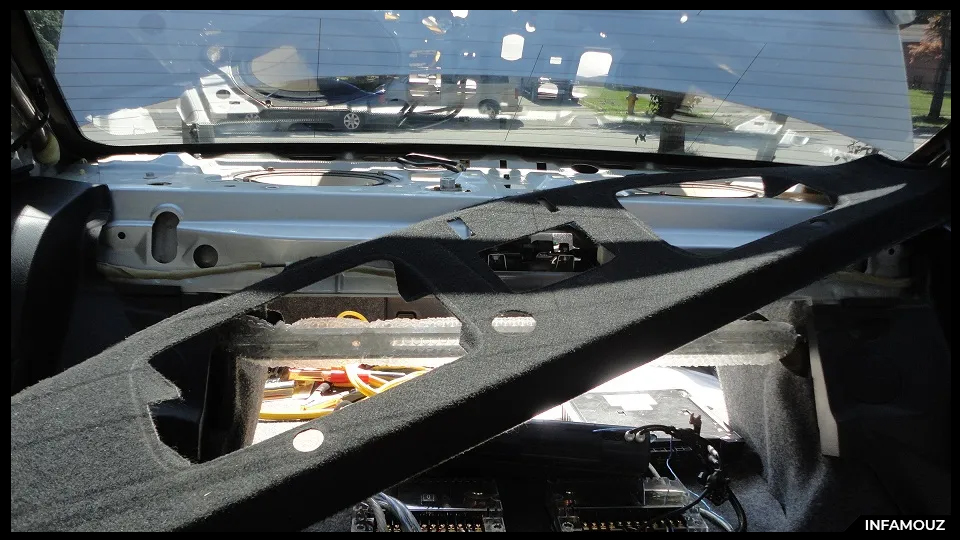
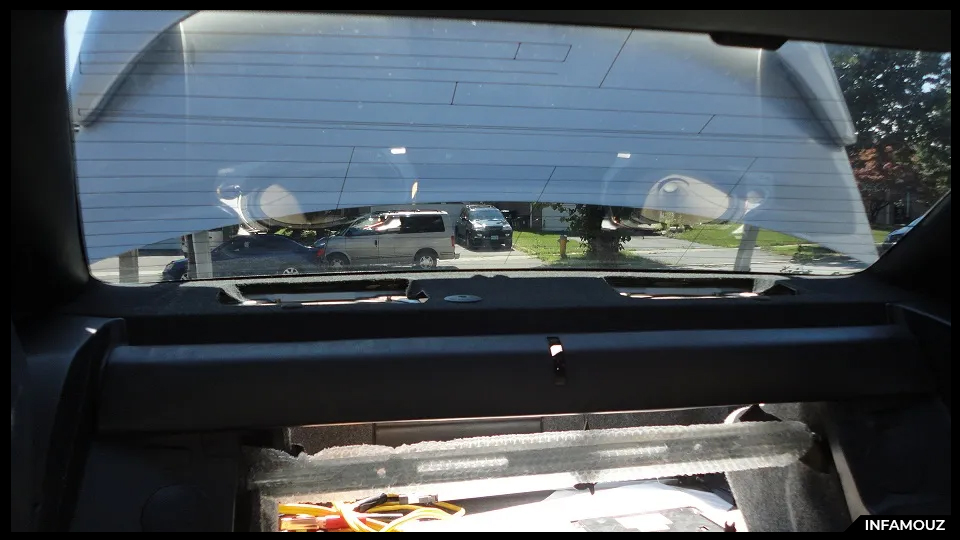
8. Your deck should look something like this....DO NOT REMOVE YOUR SPEAKERS!!!...this is not necessary
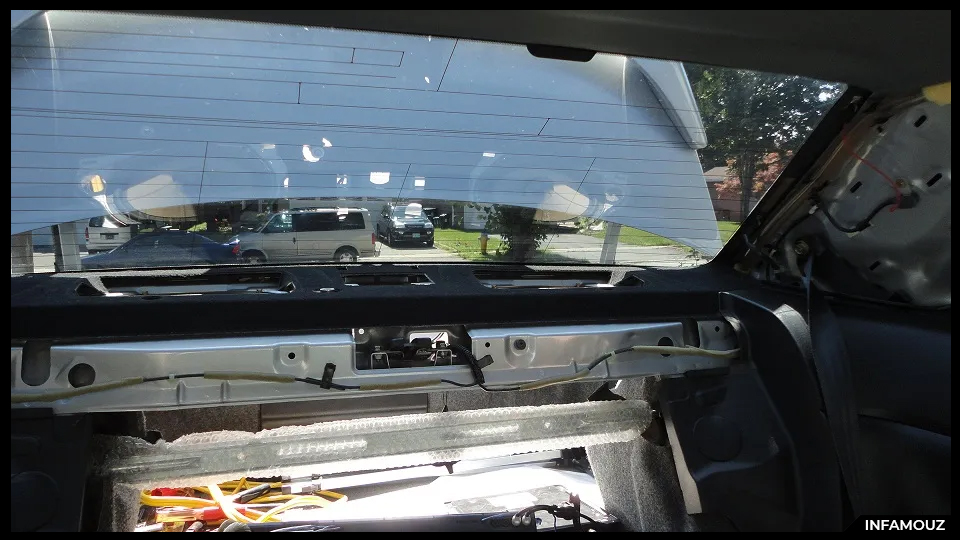
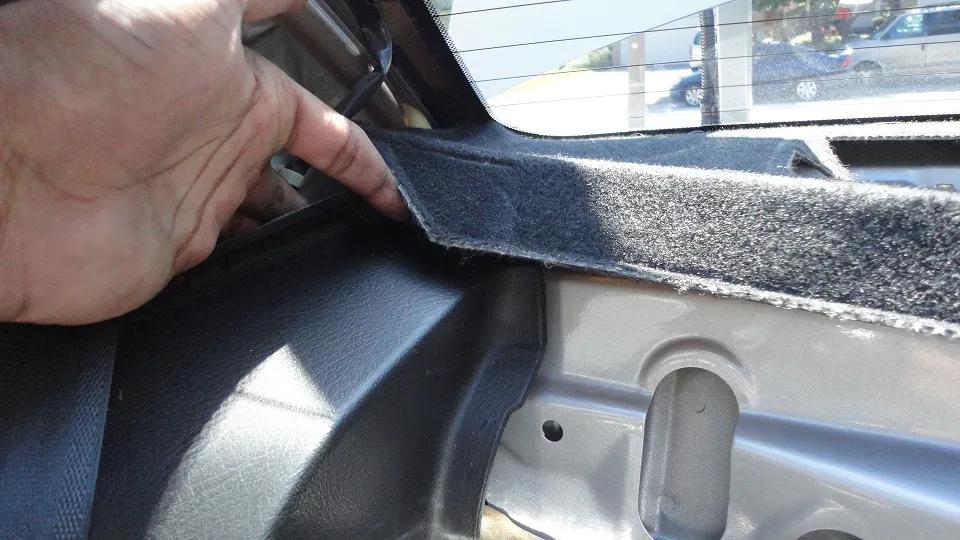
9. Pull on the edge of your quarter panel and bring the rear deck trim piece to the front.
10. Once both ends of the rear deck is infront of the quarter panel trims, push it towards you and angle it upwards....(push it towards you and slightly upwards)...it should slide right out!
Installation of the new deck is simply the reverse of this .....
.....
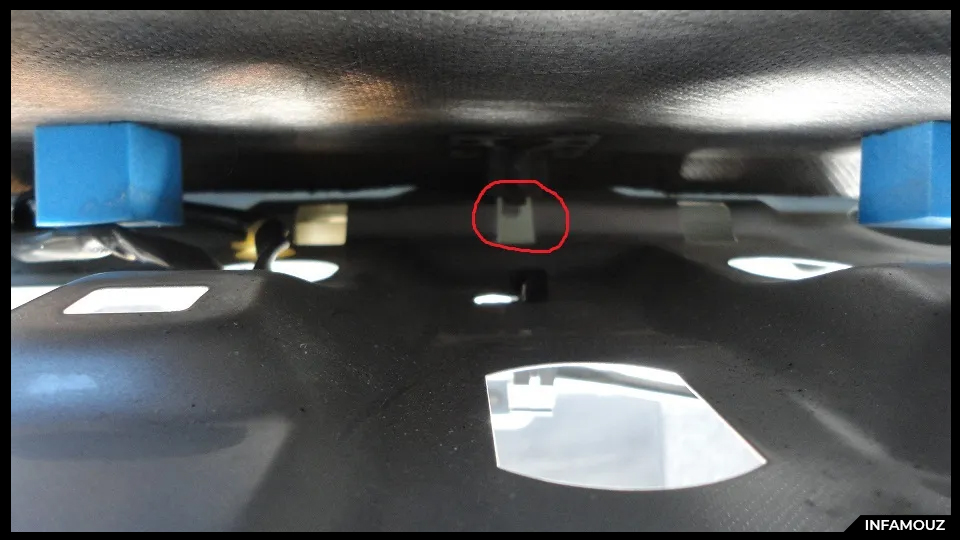
When re-installing a rear deck, you’ll notice there’s a metal clip on the bottom of the rear deck....make sure it clips onto the middle hole
That's it!!!! Now you’ve got an SH rear deck.....or took apart & re-installed your old deck
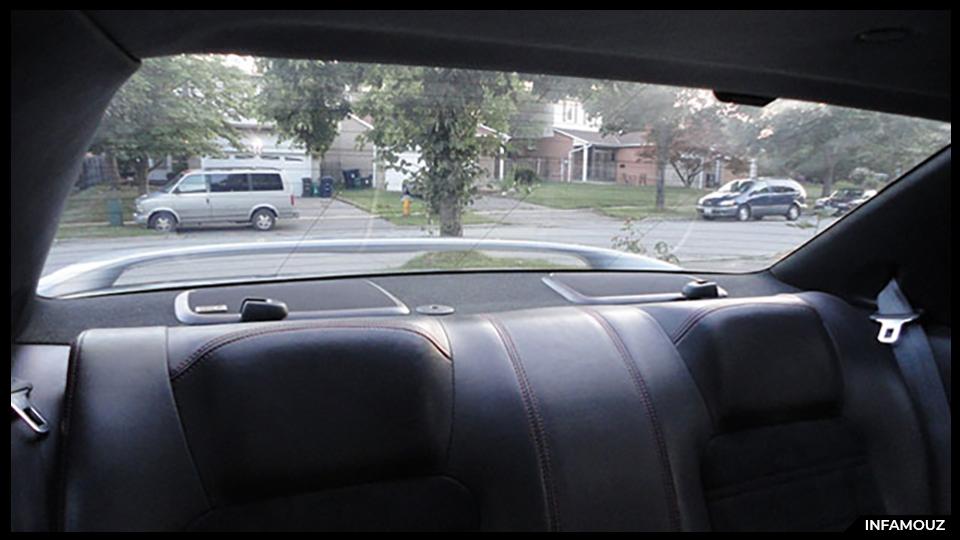
Before & After

All done!
1. Fold down your rear seat. In your trunk, you’ll see a black plastic “anchor”....tug on that plastic....then go inside and pull down ur rear seats....they should fold down. [You can also use the key technique....you should be able to see a key hole on the rear deck....(this technique didn't work for me...so ended up pulling the plastic from the trunk)]
2. Remove the long plastic trim that goes over/covers the seat latch (what your seat snaps onto when you ‘unfold’ it). It has 4 snap on white clips....just pull on it and it should come right out. Sorry i didn't take a pic with the plastic trim on....but you get which one i'm taking about
3. Now be careful during this step as you don’t want to leave any stress/white marks on this trim piece. It’s the one that goes over the C-pillar. There are 7 metal clips that hold it in place. Grab the end that’s above the quarter panel window and tug on it a bit....then use both hands...holding the piece in the middle and work your way to the other end (near the rear deck). Be patient....it requires quite a bit of strength....
4. Remove the 3rd brake light. Push it towards the window and pull up. Sorta like pushing someone on a swing......
5. If you have these infant/toddler seat hooks....separate the cover off by just pulling on it and you’ll be exposed to a 12mm bolt. Remove the bolt and the whole assembly will come out....
6. Just pull on the lock cylinder trim and it’ll just pop right out
7. Remove the speaker covers. The best way to do this is through your trunk....get a nose plier and give each of the 4 metal clips a push up....(4 clips PER speaker cover....so 8 clips in total)
8. Your deck should look something like this....DO NOT REMOVE YOUR SPEAKERS!!!...this is not necessary
9. Pull on the edge of your quarter panel and bring the rear deck trim piece to the front.
10. Once both ends of the rear deck is infront of the quarter panel trims, push it towards you and angle it upwards....(push it towards you and slightly upwards)...it should slide right out!
Installation of the new deck is simply the reverse of this
When re-installing a rear deck, you’ll notice there’s a metal clip on the bottom of the rear deck....make sure it clips onto the middle hole
That's it!!!! Now you’ve got an SH rear deck.....or took apart & re-installed your old deck
Before & After
All done!